Bands vs Negatives for Pull-Ups: How to Choose
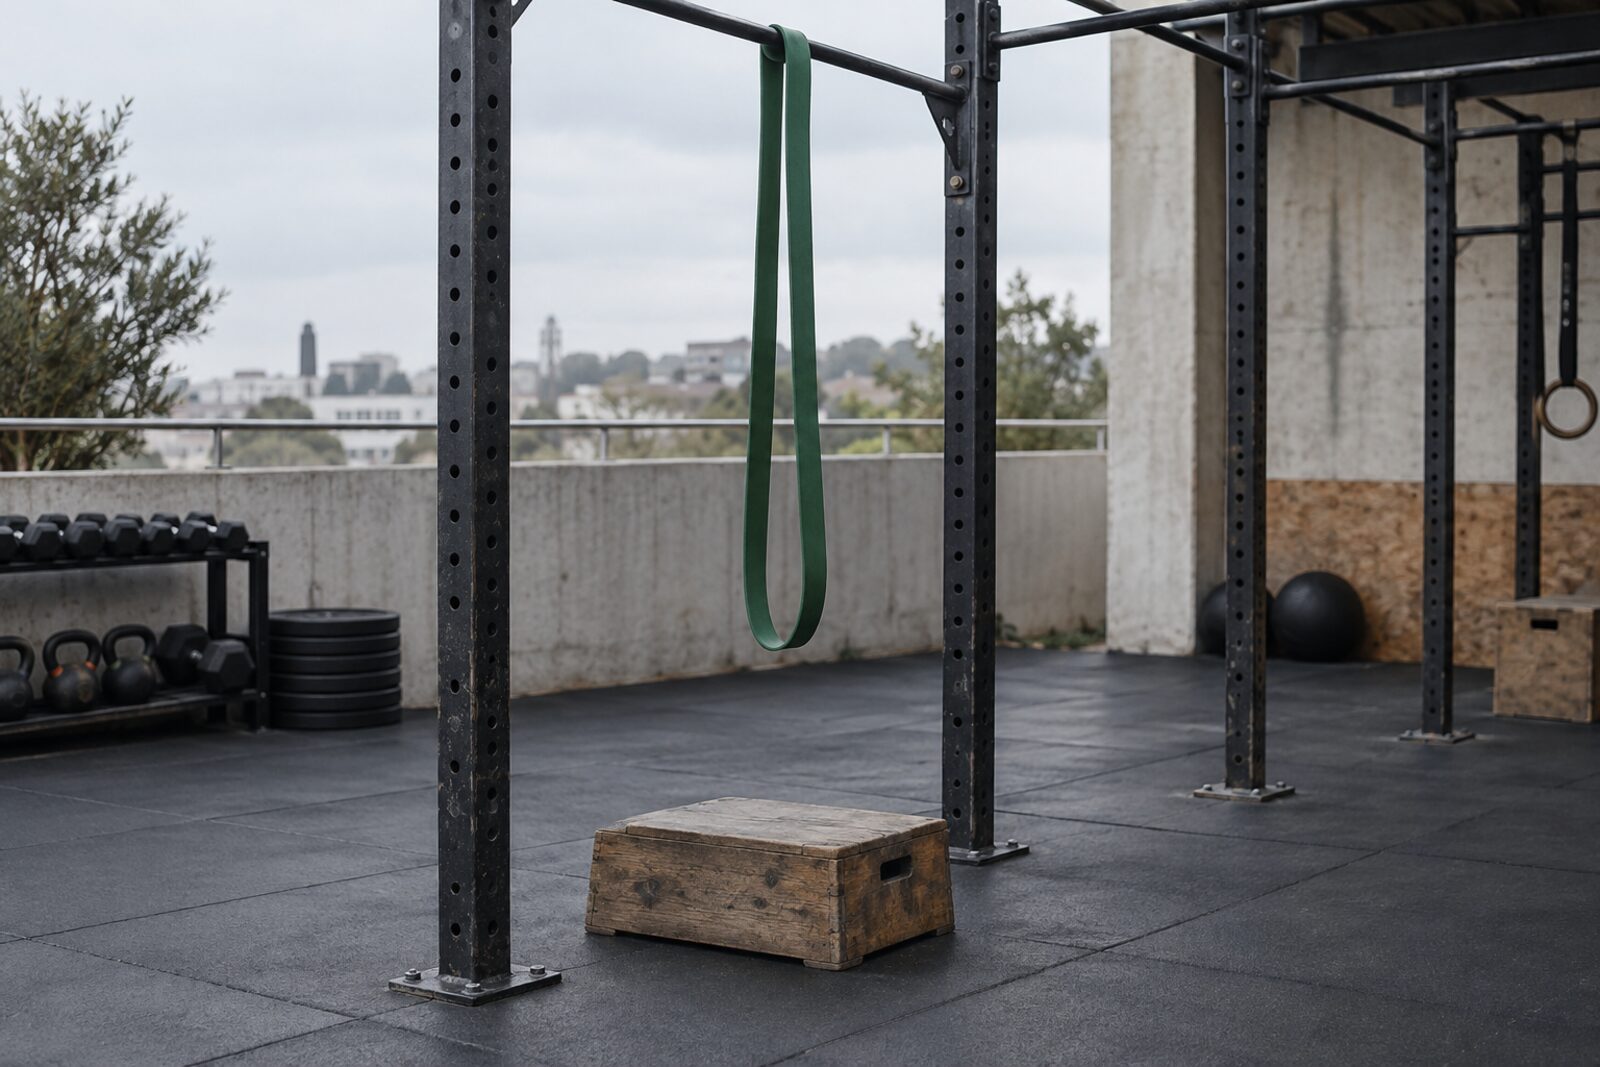
We recommend band-assisted pull-ups whenever a safe setup is available, because the band lets you practice both halves of the movement with enough help to finish every rep. Negatives make sense when the only equipment is a bar and a step, provided that you can lower yourself under control instead of dropping.
We cannot promise that either route is faster. A 2018 master's thesis compared band-assisted and eccentric-only training in 22 female college athletes over four weeks and found no statistically significant difference between them. A study that small and that short cannot show that the two methods are equivalent, and it says nothing about when your first pull-up will arrive.
What each method trains
A band-assisted pull-up trains the whole rep, up and down. A negative trains only the descent, since you step up to the top position and lower yourself from there. Most people can lower their bodyweight well before they can pull it up, which is why the two exercises belong on separate lines of a training log.
The band also changes how much it helps during the rep. In the usual setup it hangs from the bar under a foot or a knee, stretches most at the bottom and therefore helps most there, then shortens and helps less near the top. Elastic-band testing measured this relationship between stretch and tension, although the exact help you get depends on your band and how you attach it. For anyone who struggles at the top, the effect is awkward, because finishing the rep can require a stronger band even when the bottom already feels easy. Foot support on a low bar or an assisted machine gives more even help through the whole movement.
A partner can help as well, and the U.S. Army's version combines both methods in one rep. In its climbing drill, the partner holds the trainee's feet against their thighs to support the pull and stops helping once the trainee is up (ATP 7-22.02 exercise guide, Pull-Up), so the trainee lowers alone. Every rep thus contains an assisted pull and an unassisted negative. The amount of help is hard to measure, so keep the same partner whenever possible.
| What you can do now | Where to start | What to check in the first set |
|---|---|---|
| You drop as soon as you leave the top position | Assisted full pull-ups | That you can lower steadily as well as pull up, with more assistance if you cannot |
| You can lower steadily, and only a secure bar and step are available | A few separate negatives | That you reach the bottom without a sudden drop and can put your feet down safely |
| You can lower steadily and have assistance available | Assisted full pull-ups, with negatives as an option | That the range stays the same on every rep |
| The band helps at the bottom, but you still cannot finish the top | More assistance, or foot or machine assistance | That you clear the bar without kicking or craning your neck |
| You have a partner but no band or machine | Partner-assisted pull-ups, lowering on your own | That you lower steadily once your partner lets go |
Use a secure bar and a stable step, follow the manufacturer's instructions for the band, and inspect it for damage before you use it. Control the band as you get in and out. If an exercise hurts, stop that variation. Pain that persists needs an individual assessment.
How much band assistance to use
The right band is the one that lets you pull through the top and lower under control. Its color and the number printed on it say little about that. If you can only bounce out of the bottom, add assistance or switch to another supported setup. If the whole set stays easy, try a little less help at a later session.
Keep the band in the same place while you make this decision. If you change the band and move it from your knee to your foot in the same session, you will not know which change made the difference.
The first session
Pick one route and let it replace comparable pulling work in your routine. Use the same grip on every rep, start with straight elbows in a comfortable overhead position, finish with your chin over the bar, and do not kick. The amounts that follow are starting points, and you can reduce them.
With assistance, warm up on an easier version and then choose enough help for three to five full reps. Rest two to three minutes between sets and stop at three sets, or earlier if the reps begin to shorten or you start dropping on the way down. Record the reps you actually completed, even when that is fewer than you planned.
With negatives, use the step to reach the top without jumping, then lower steadily until your elbows are straight, with a clear way to put your feet back on support. Rest two to three minutes before a second single, and attempt a third only if the descent is still controlled. A sudden drop ends the set. If you cannot control the whole descent, you need assistance, and no five- or ten-second target is worth forcing yourself through.
Forma's instructions for negative pull-ups use a descent of three to five seconds. We treat that as a tempo to build toward while you keep control. If you drop through part of the movement, add assistance, because slowing down the first half does nothing for the control you lack in the second half. The introduction of one to three singles is intentionally smaller than the app's standard rep target.
At the next session, repeat the same setup. If soreness still interferes with normal movement or with your next workout, reduce the dose instead of adding descents. The pull-up progression guide turns this into a weekly schedule.
Measuring progress
For assisted reps, build toward three sets of five with the same setup. Once you have done that comfortably in two sessions, reduce the assistance slightly and expect the rep count to fall. If the next band leaves you unable to finish the movement, go back to the current one for now.
For negatives, judge the descent itself. You want to lower through the same range without a sudden drop and to repeat that after resting. When all three singles become manageable across several sessions, add one single. Do not add reps and demand a slower descent in the same week, since two changes at once make the result impossible to read. Once you have access to assistance, add some upward practice as well.
Label the band so that you can identify it next session, and note how it is attached and whether it supports your knee or your foot. In an acute study of 33 participants, changing how the band was arranged changed how many reps people could perform. When the setup changes, the rep count alone cannot tell you how much stronger you have become.
A record of assisted training might look like this.
| Session | Setup | Clean reps | Next decision |
|---|---|---|---|
| A | Same band, one foot, three-minute rests | 5 / 4 / 3 | Keep the setup and aim for one more clean rep |
| B | Unchanged | 5 / 4 / 4 | Keep building at this assistance |
| Later, after 5 / 5 / 5 comfortably twice | Less assistance, same placement and rest | 3 / 3 / 2 | Record a new baseline. The lower count is the harder exercise, and no progress was lost. |
The training log has a column for each of these details, and its instructions include a completed example.
More band reps but still no pull-up
When the band reps keep rising and the unassisted pull-up still does not come, first check whether the exercise has changed. A band moved from knee to foot alters the help you get. Bouncing out of the bottom or stopping short of straight elbows alters the rep itself. Return to one setup before you decide that the method has stopped working.
If the reps are comparable, an occasional fresh attempt shows what happens without help. Warm up, try one rep before your main work, and stop after a clear miss. Note where it failed, whether at the start, halfway or just below the bar. That observation locates the problem in the movement, although it cannot identify a weak muscle.
Then watch the assisted version at the same point. If you shorten or rush that part even with the band, add help or try foot or machine assistance, and keep the rest of the session unchanged so that you can see whether the new setup lets you practice the portion you were missing.
Once you have several unassisted reps, the plateau guide covers the next stage. Forma's skill trees show where the pull-up sits among the other skills in the app.
Sources and further reading
- Low, Steven. Overcoming Gravity: A Systematic Approach to Gymnastics and Bodyweight Strength, second edition. Battle Ground Creative, 2016. Printed pp. 94, 97–99, 122 and 424–425, on assistance, controlled eccentrics and gaps between progressions. Author’s book information.
- Colorado Army National Guard. ATP 7-22.02 Complete Exercise Guide, a compilation of the drills in ATP 7-22.02, Holistic Health and Fitness Drills and Exercises (October 2020). Pull-Up, with partner assistance (PDF p. 96). PDF.