Pull-Up Progression: How to Choose Your Starting Point
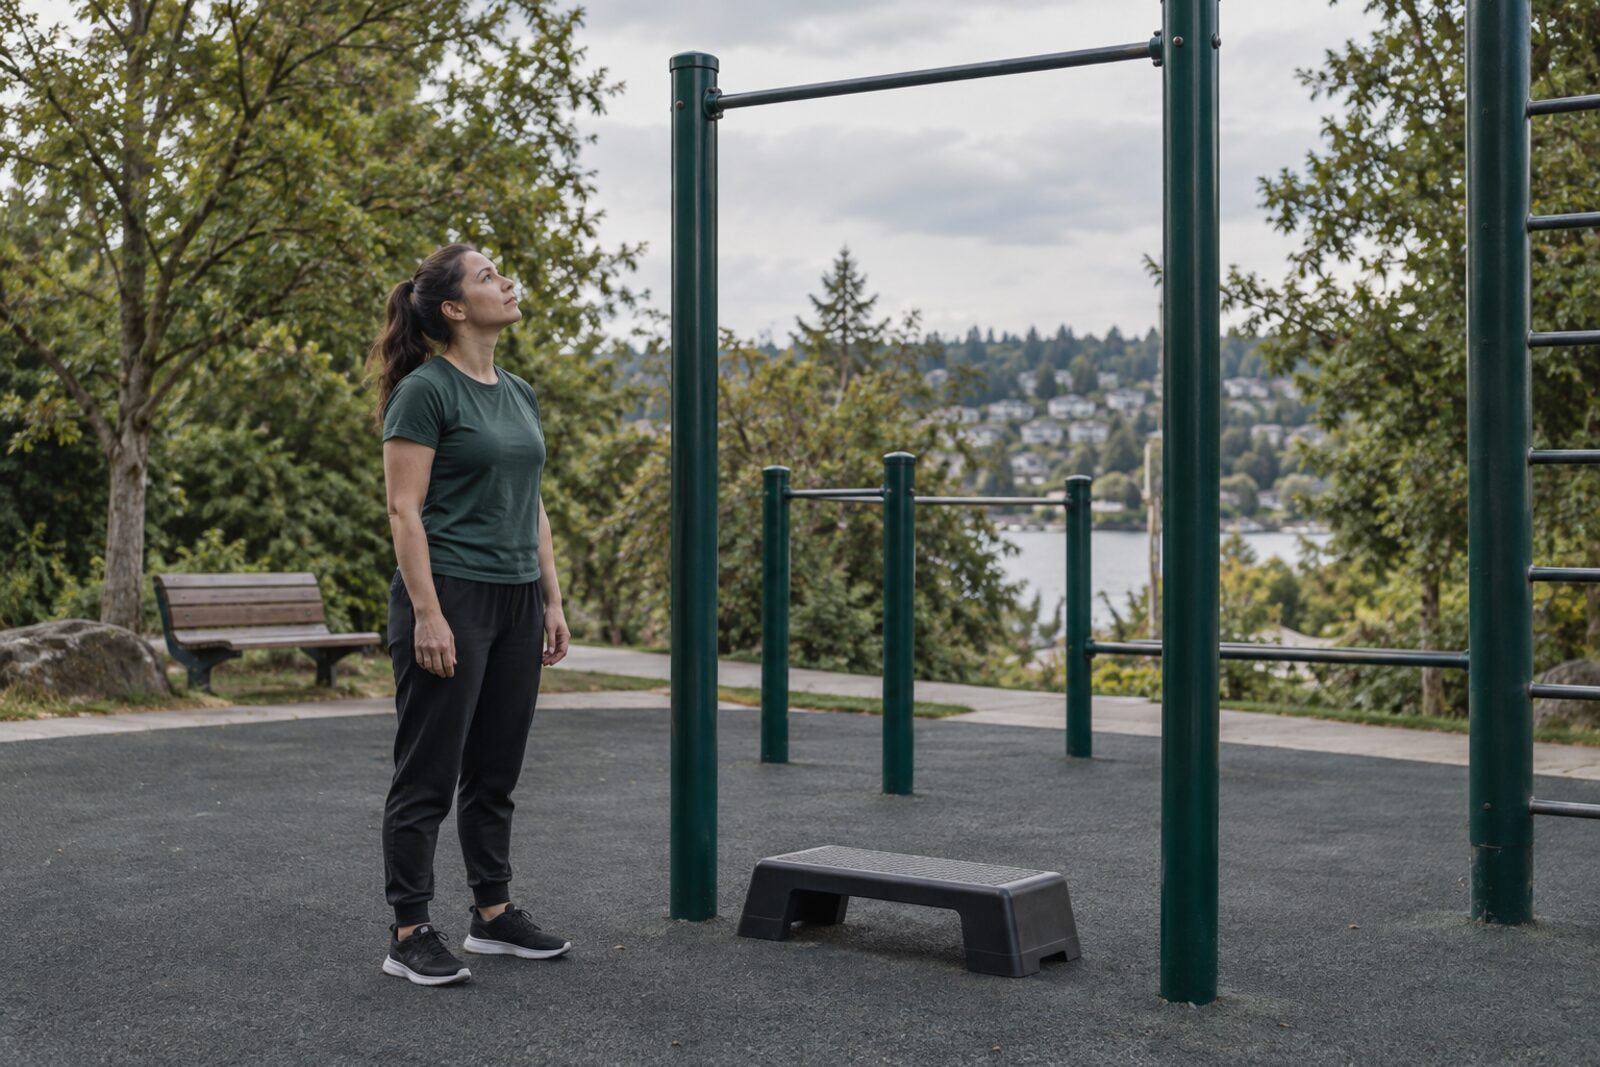
If you cannot do a pull-up yet, start with enough assistance to pull up and lower down without kicking or dropping. If you can do one but it takes everything you have, use assistance for most of the session as well. Your best rep tells you something about your ability, but nothing says it has to be the exercise you repeat in every set.
You do not need a particular hang time or a minimum number of rows before you start assisted pull-ups. The U.S. Army does not wait for that either. Its training manual sorts trainees into pull-up ability groups that run from 0–2 reps to 10 or more, and in week 4 of basic training the two lower climbing-drill groups still do their pull-ups with a partner's help (FM 7-22, tables 14-5 and 14-6).
Set the standard before you test yourself
The standard in this guide uses an overhand grip with the palms facing away. A rep starts with straight elbows in a comfortable overhead position, rises until the chin clears the bar without the neck craning forward, and lowers steadily, with the legs quiet throughout. Underhand chin-ups and neutral-grip pull-ups are valid training choices too, provided that you record them separately so that each log entry compares the same task.
The bar should be properly installed and rated for the activity, with a stable step when you need one, enough clearance and a safe way down. Warm up first, on an easier assisted version if your equipment allows it, and never test through pain. A recent rep count is enough to choose today's exercise, so a new maximum test is unnecessary.
Choose today's exercise
With no full rep yet, use assisted pull-ups if your equipment allows them. Use enough help to move both up and down. On an assisted machine, that means a higher assistance setting. With foot support, use a securely mounted low bar that lets your feet stay on the floor, bend your knees as needed and push through your legs just enough to help the pull, keeping the bar height and foot position the same from session to session. With a band, follow its setup instructions and add assistance if the top of the rep stays out of reach.
With a training partner and no equipment, use the Army's method. The partner holds your feet against their thighs to help you up and stops helping once you reach the top, so you lower yourself (ATP 7-22.02 exercise guide, Pull-Up). A partner's help is hard to measure, so keep the same partner when possible and note how much help you needed.
With only a bar and a step, negatives are an option, provided that you can enter the top position safely and lower all the way without dropping. Start with one descent, rest two to three minutes, and try at most two more singles while control holds. If you cannot control the descent, the answer is assistance, and a longer target time will not help. The bands-versus-negatives guide explains that choice in more detail.
With one clean rep, assisted work is still the main practice if you have a suitable setup. You can include one fresh unassisted single at the start, but if it takes all your effort, leave it at one. With only a bar and a step, controlled negatives become the main practice, and they should not be piled on after maximum attempts.
With two or more clean reps, try small unassisted sets and keep assistance available for later sets. Stop each set while another clean rep still seems possible. The weekly plan further down gives examples for maximums of two and five.
If you cannot use the overhead position comfortably even with assistance, do not force it, and get individual help to choose a suitable exercise. Rows can stay in your wider program. Hanging has its own uses as well, although a longer hang says little about whether you can pull yourself up.
How this fits a Forma skill tree
Forma's pull-up foundation currently runs through scapular pull-ups, negatives, assisted pull-ups and then pull-ups. The Army's Climbing Drill 1 opens with a similar movement, the straight-arm pull, in which you hang with straight elbows and lift the chest toward the bar as the shoulder blades move together. The drill uses it to teach the start of the pull-up and to build grip (ATP 7-22.02 exercise guide, Straight-Arm Pull). The starting choices in this article also account for the equipment and assistance you have today, so you never need to force an uncontrolled negative before you are allowed to use assistance.
The app normally starts a rep-based progression at three sets of six. The smaller targets in this article are for someone who cannot yet repeat that workload. Choose an exercise and an amount you can control, record what you actually did, and keep any assistance changes in your training notes, because a completed rep target in the log does not show whether you used the same band or the same leg help. The reps, sets or weight guide explains how the app advances targets and how its automatic rule differs from our suggestion to repeat a target on two occasions.
Put it into a week
We would begin with two pulling sessions on nonconsecutive days, so that you can repeat a setup and compare the results. Two sessions a week also meets the American College of Sports Medicine's 2026 position stand, which lists at least two sessions a week among the factors that enhance strength (Currier et al.). The plan covers pull-ups only. It replaces your existing pull-up work and leaves room for any rows or climbing you already do. Treat the numbers as starting points and reduce them if you need to.
| Starting point | First session after warming up | Second session |
|---|---|---|
| No full rep, assistance available | Up to 3 sets of 3–5 assisted reps, with enough help to finish each rep | Repeat the setup and target, and record the actual reps |
| Zero or one full rep, only a bar and step, controlled lowering | 1–3 separate negatives with 2–3 minutes of rest between them, as the main practice and without maximum attempts | Repeat only if recovery and control allow it. Do fewer if soreness affects the movement, and use the negative progression rule before adding work. |
| One clean rep, assistance available | An optional fresh unassisted rep, then 2 assisted sets of 3–5 | Use assistance throughout, or repeat the single only if the previous one was smooth |
| Two or more clean reps | Up to 3 sets that end with another clean rep still plausible, which means singles for a maximum of 2 and sets of 3 for a maximum of 5 | Repeat the workload, and switch to assistance if later sets would become maximum attempts |
Rest roughly two to three minutes between demanding sets, longer if you need it to repeat the movement well, and end a set before a rep would need a kick, a shorter range or an uncontrolled descent. Log the rest along with the reps. If you shorten it every week, the exercise has become harder even when the reps stay the same. Part of the reason for longer breaks comes from a trial in general resistance training, and this exact beginner week has not been tested as a program.
Know when to make it harder
Keep the number of sets you chose. Three assisted sets build toward 5 / 5 / 5, and two assisted sets after an optional single build toward 5 / 5. Once you repeat that target in two sessions with the same range and some effort to spare, use slightly less help and expect fewer reps, since a result such as 3 / 3 / 2 simply becomes your new baseline. If the smaller amount of assistance prevents full reps, go back to the previous setting.
Foot assistance makes "slightly less" harder to measure. Keep your feet in the same place and consciously push less with your legs. If you cannot tell whether the help changed, write that down instead of logging it as a strength gain.
For unassisted sets, add one rep to one set once you can repeat the current work without straining through the finish, so 3 / 3 / 3 becomes 4 / 3 / 3. If the extra rep costs you reps later in the session, repeat the old target for now. The pull-up plateau guide works through that decision with a full log.
Exactly one rep is the awkward stage, because advice to leave a rep in reserve makes no sense when one is your maximum. With assistance available, check a fresh single and do the remaining work with assistance. Without it, follow the bar-and-step option. When the single gets easier, add some unassisted work, and until then there is no need to prove the single again in every set.
Missed sessions
After a missed session, resume with a workload you have managed before, and scale it down after a longer break or if the movement feels unfamiliar. Do not squeeze two missed pull-up sessions into one to make the calendar look complete. The first session back shows you whether the old target still fits.
If you keep missing the same day, move the existing work to a day you can keep before you add any exercises. The gym-and-calisthenics guide shows how to fit pulling practice around another routine.
Take a record to the bar
The starting-point worksheet has space for your plan, and the training log records the sessions, with instructions that include a completed example. Write down the exercise and the assistance setup, the reps in each set, the rest and the one thing you would change next time. A note such as "pushed harder with my legs on set three" tells you far more than an unexplained jump in reps.
If you use a lat-pulldown machine as supporting work, track it as its own exercise. A study of 58 college men and women found that the relationship between lat-pull strength and pull-up strength differed between the groups, and the study gives no machine weight that guarantees a first pull-up.
When the first rep takes longer than you hoped
Look back over several comparable sessions. Less assistance or more full reps is a real change even while the unassisted attempt still fails. If every entry is different, repeat one setup long enough to find out what is happening.
If the record really is flat, check for missed sessions, added pulling work and sets that have turned into all-out attempts, then choose one change from the plateau guide. A coach can help when you cannot tell whether the problem lies in the setup, the technique or the training load. Pain calls for an individual assessment before any further progression test.
There is no deadline for the first full rep that fits everyone. Keep the measurable changes in view, which means less assistance, more full reps and a single that no longer takes all your effort.
Forma's skill trees show how the calisthenics progressions connect. Once you have pull-ups and want to get above the bar, the muscle-up guide is the next step.
Sources and further reading
- Low, Steven. Overcoming Gravity: A Systematic Approach to Gymnastics and Bodyweight Strength, second edition. Battle Ground Creative, 2016. Printed pp. 21–23, 94 and 423–425, on progression charts, assistance and pull-up technique. Author’s book information.
- U.S. Department of the Army. FM 7-22: Holistic Health and Fitness. Headquarters, Department of the Army, October 2020. Tables 14-5 and 14-6 (pp. 14-10 and 14-12), on ability groups and climbing-drill targets in basic training. Approved for public release. Army Publishing Directorate.
- Colorado Army National Guard. ATP 7-22.02 Complete Exercise Guide, a compilation of the drills in ATP 7-22.02, Holistic Health and Fitness Drills and Exercises (October 2020). Straight-Arm Pull and Pull-Up (PDF pp. 94 and 96). PDF.